Create a Project
Organizing your testing efforts starts with creating a project. Follow this guide to set up a new project and invite your team members.
1. Access Projects
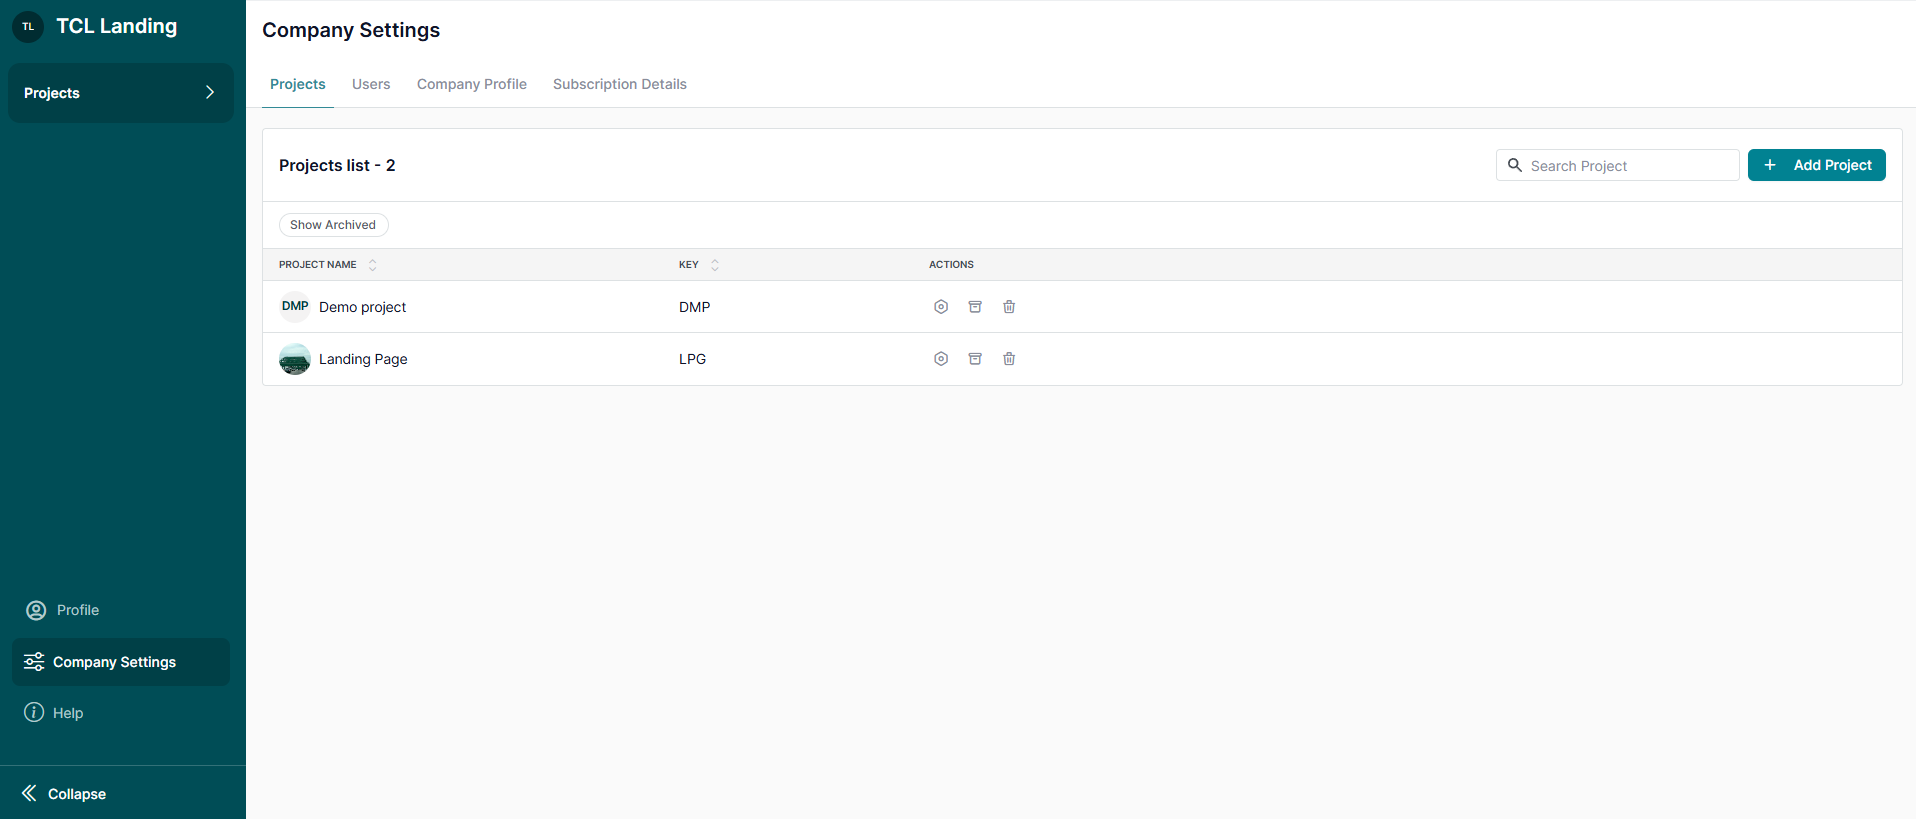
Navigate to Company Settings > Projects and click '+ Add Project' to start creating a new project
Note 1: Only a Company Owner and Administrators can create projects.
Note 2: You can create a Project on the Company Account's Dashboard as well.
2. Insert Project Details
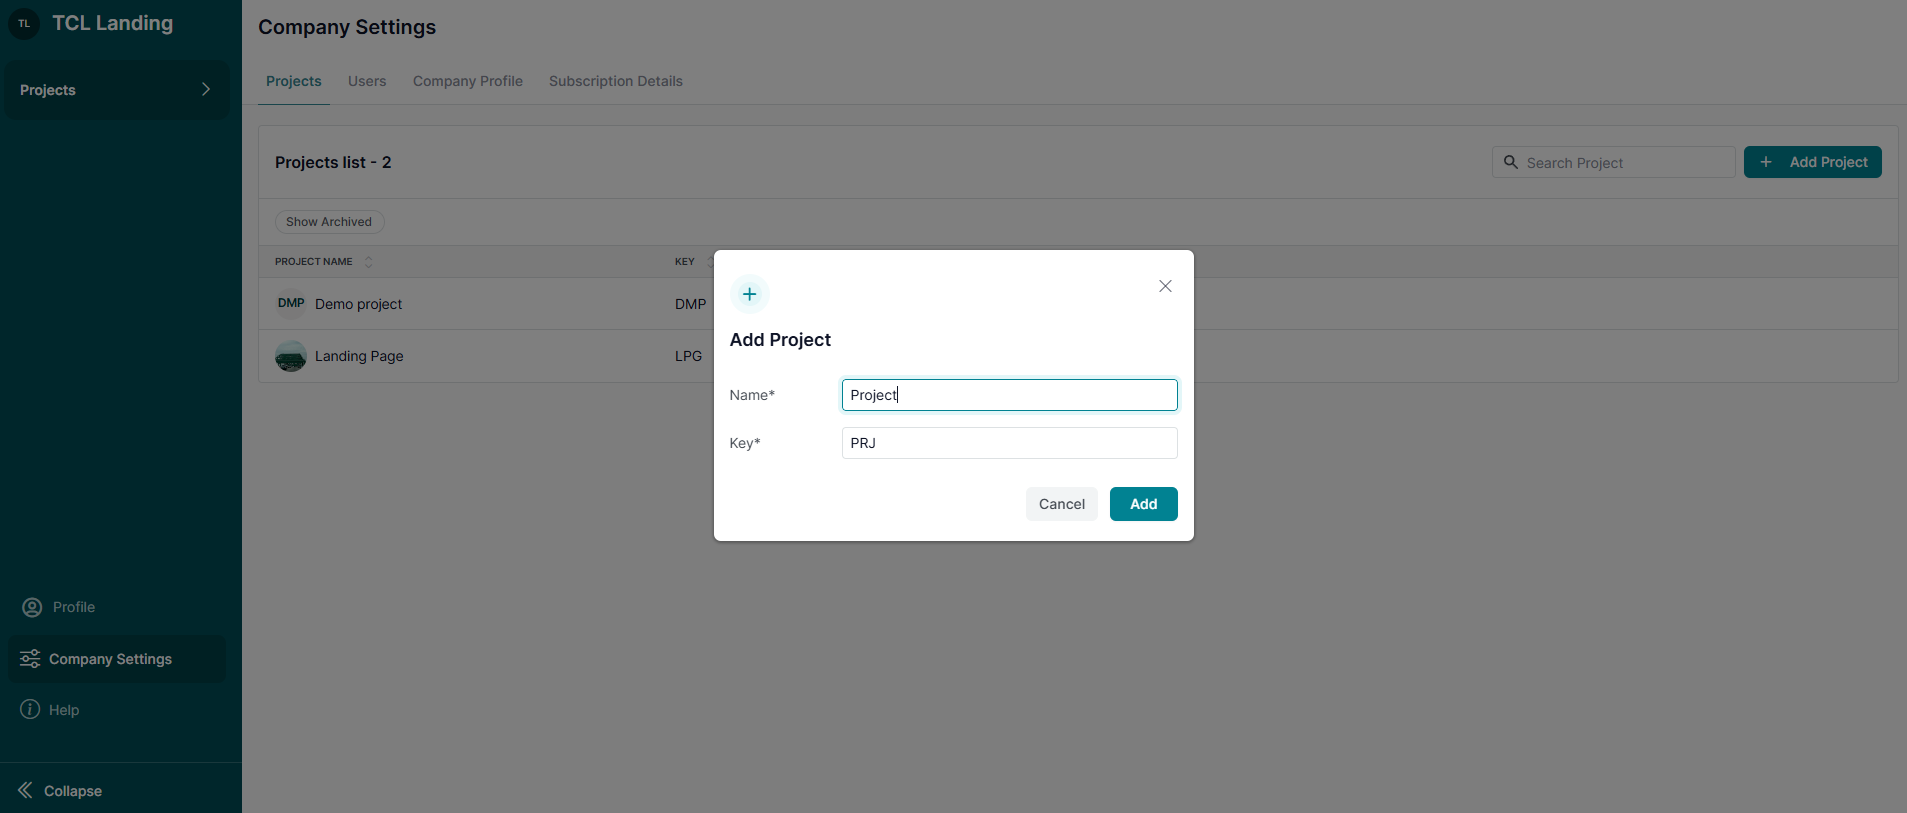
Provide the following information:
- Project Name: Enter the name of your project.
- You can update this name later if needed.
- Project Unique Key: Add a unique identifier for the project.
- This key can also be modified later.
3. Invite Project Members
Once your project is created, invite team members to collaborate.
Learn more about inviting users to projects here.
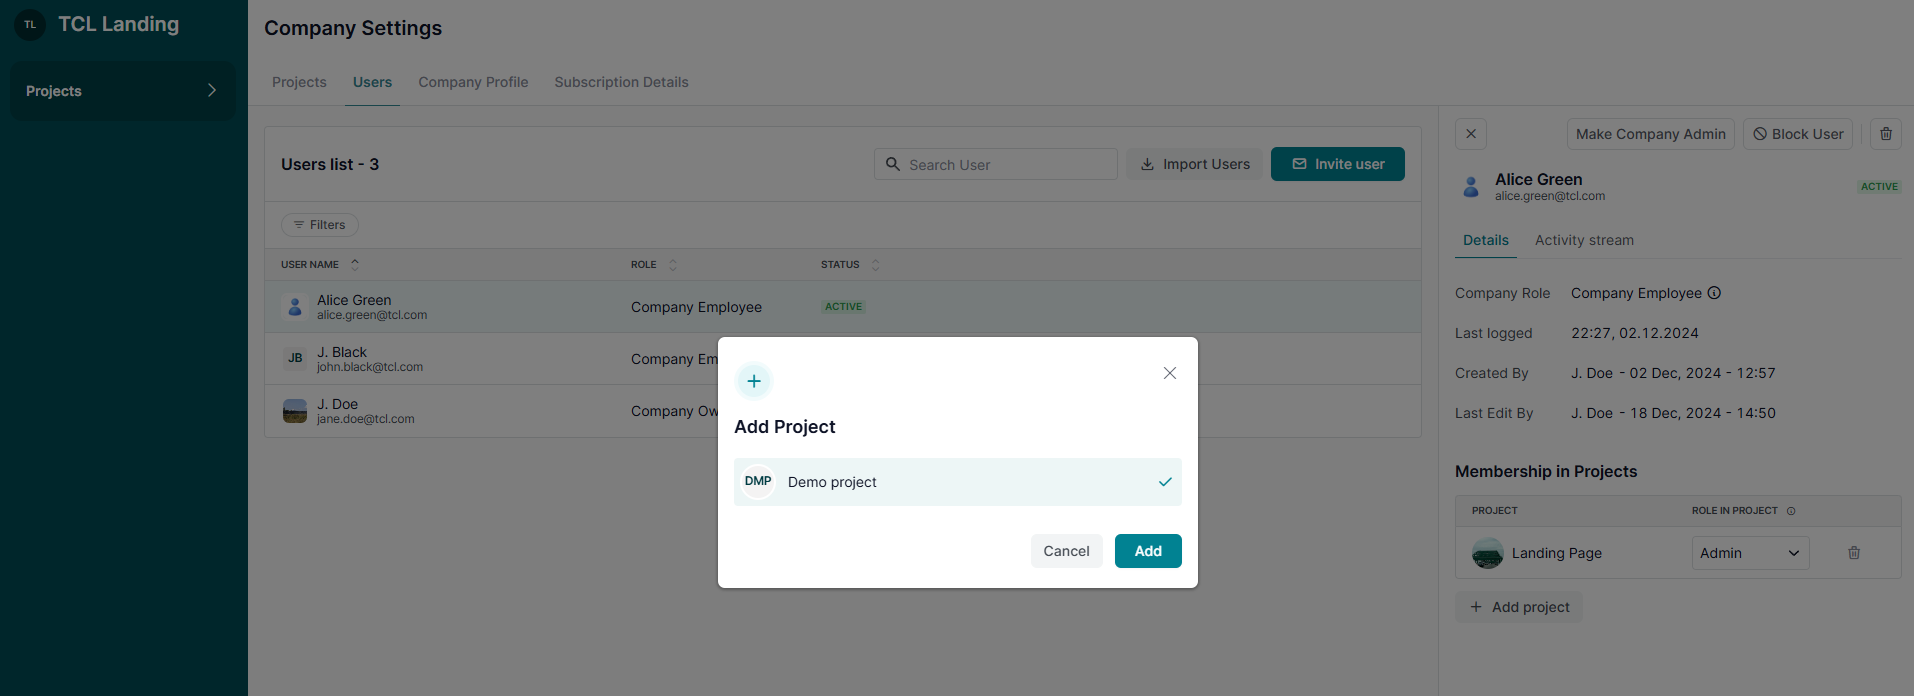
4. Unlimited Projects
TestCaseLab allows you to create unlimited projects within your Company Account, ensuring flexibility for managing all your testing needs.
Manage Project
Effectively managing projects in TestCaseLab ensures smooth collaboration and keeps your team organized. Here’s a step-by-step guide to manage project settings, members, and more.
1. Access Project Settings
To open the settings:
- Click the three-dot menu next to the project name on the Dashboard and choose Project Details, or
- Navigate to the project and select Project Settings from the sidebar.
Note: Only Project Administrators have access to Project Settings.

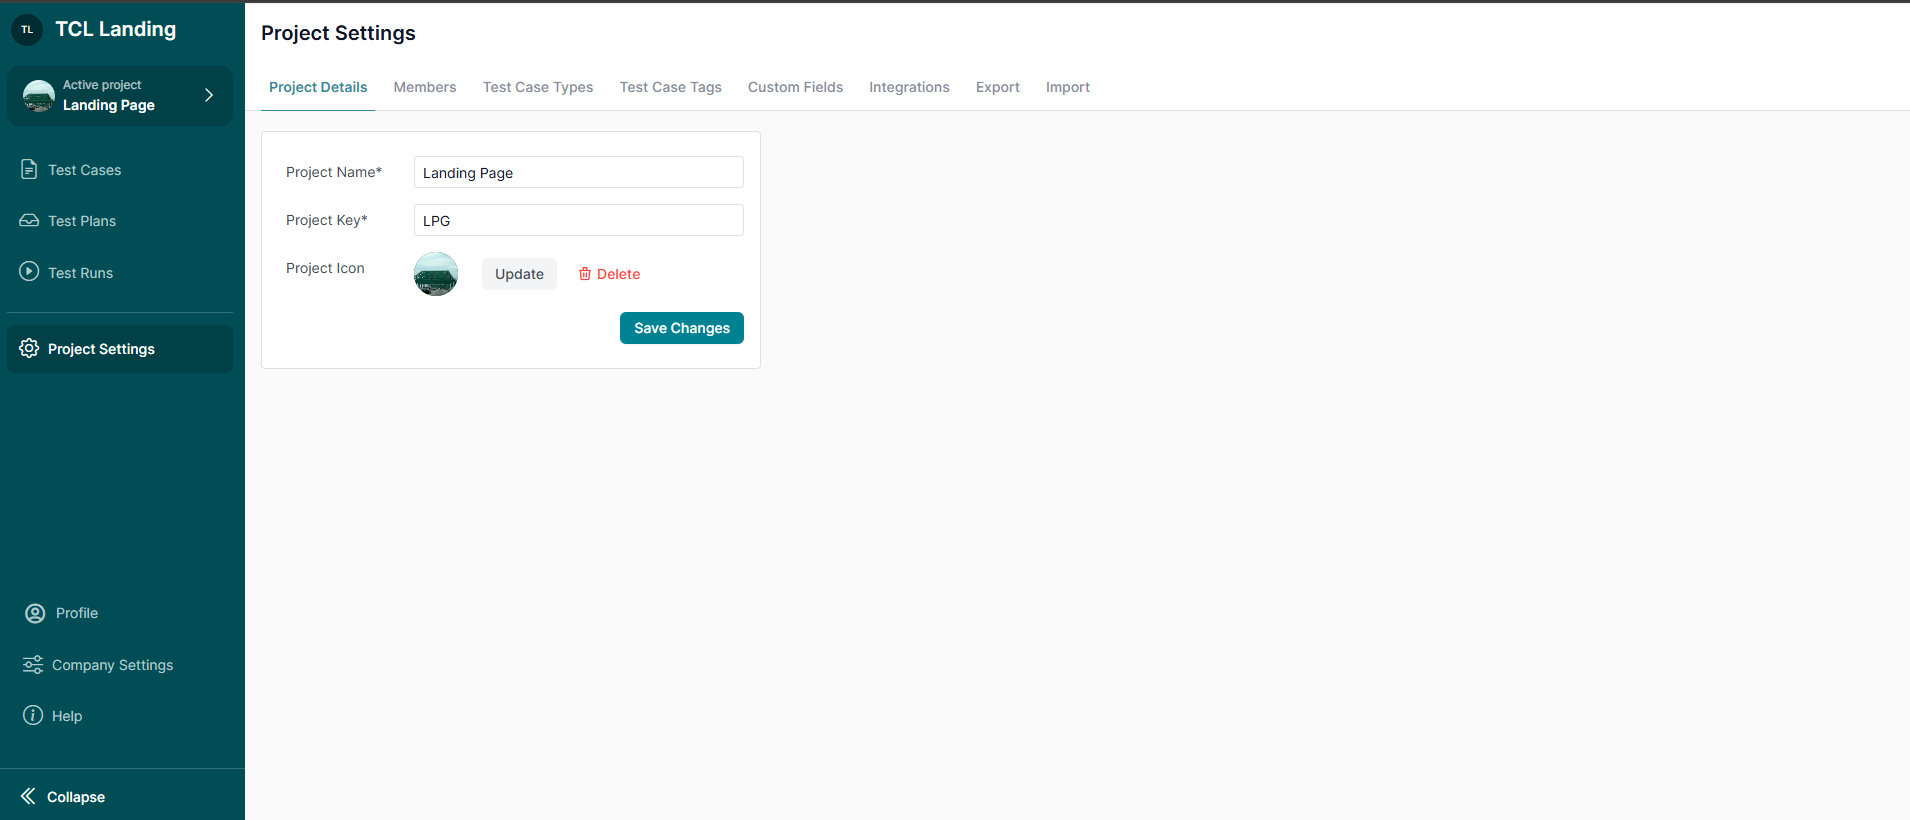
2. Edit Project Information
In the Project Settings > Project Details, you can:
- Update the Project Name to reflect any changes.
- Change the Project Key if needed.
- Add or Update the Project Logo for better project identification.
3. Manage Project Members
Go to Project Settings > Members to:
- Invite new team members.
- Manage existing project members’ roles and access.
Learn more about managing project members here.

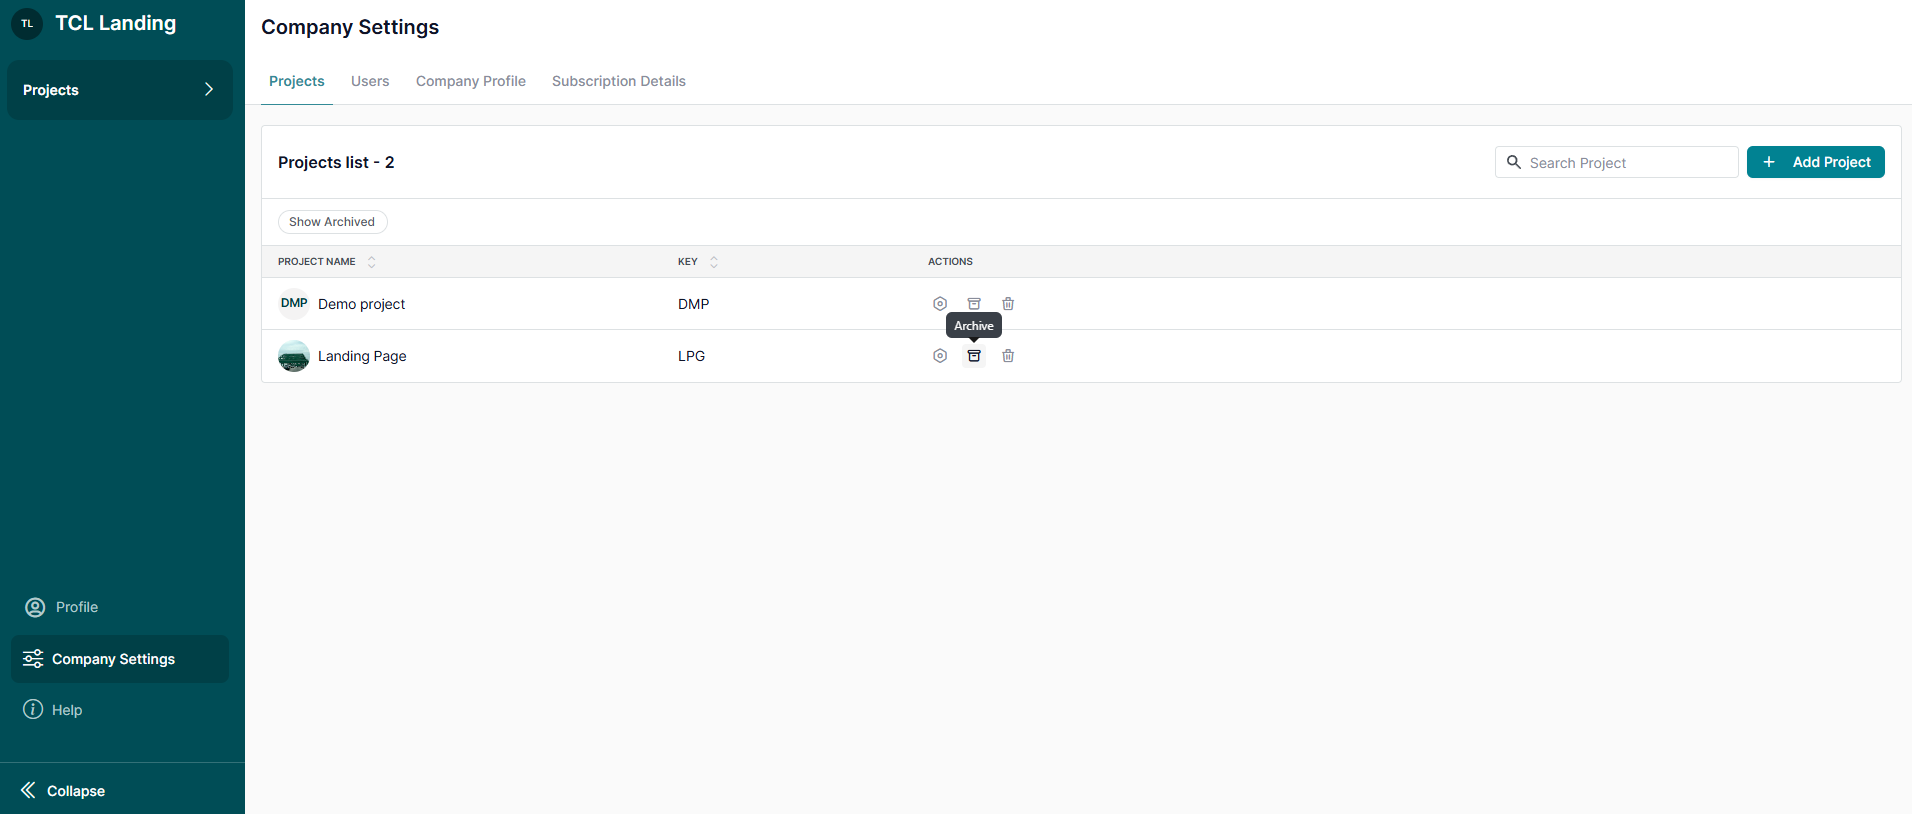
4. Archive or Delete a Project
Go to Company Settings > Projects, select the project, and choose the appropriate option.
Note 1: Deleted projects cannot be restored.
Note 2: Only a Company Administrator can archive or delete a project.
What’s Next?
By managing projects effectively, you can streamline your testing processes and enhance collaboration. For more guidance, explore related articles or reach out to our support team—we’re here to help!


.webp)
