.webp)

Invite Project Members
Inviting team members to your project ensures smooth collaboration and proper access for everyone involved. Follow these steps to invite and manage members effectively.
1. Invite Members from Company Settings
As a Company Owner or Administrator:
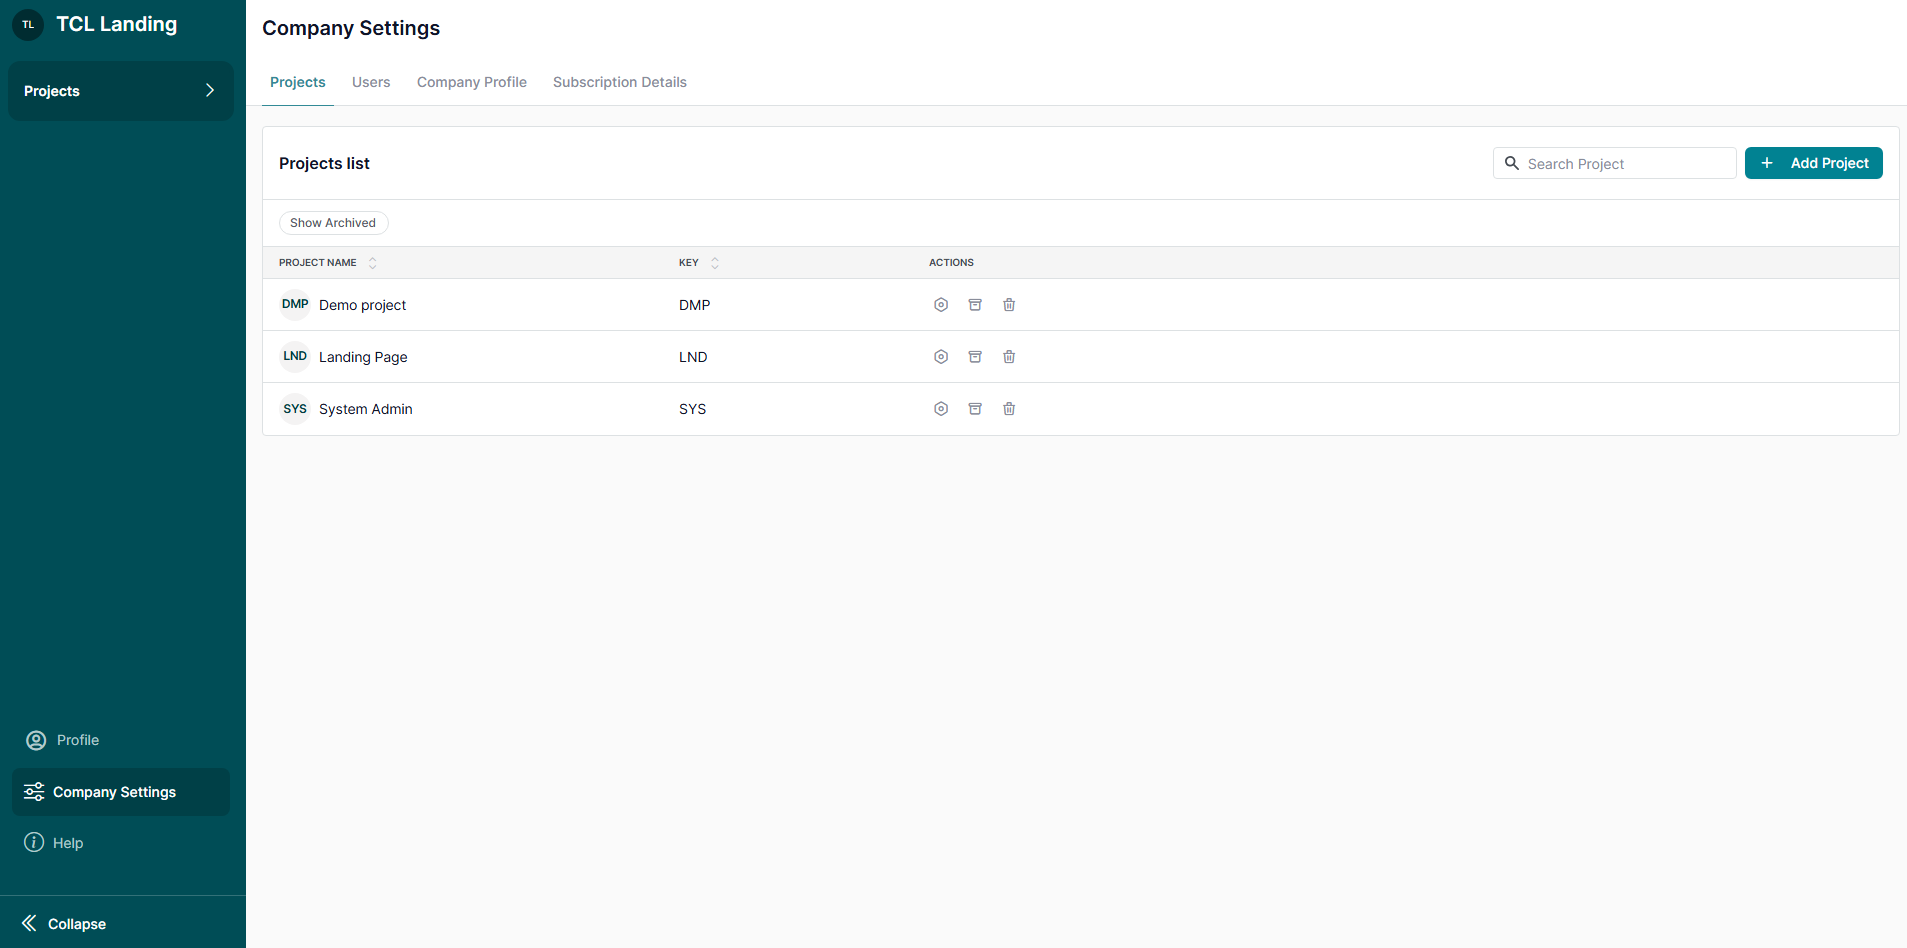
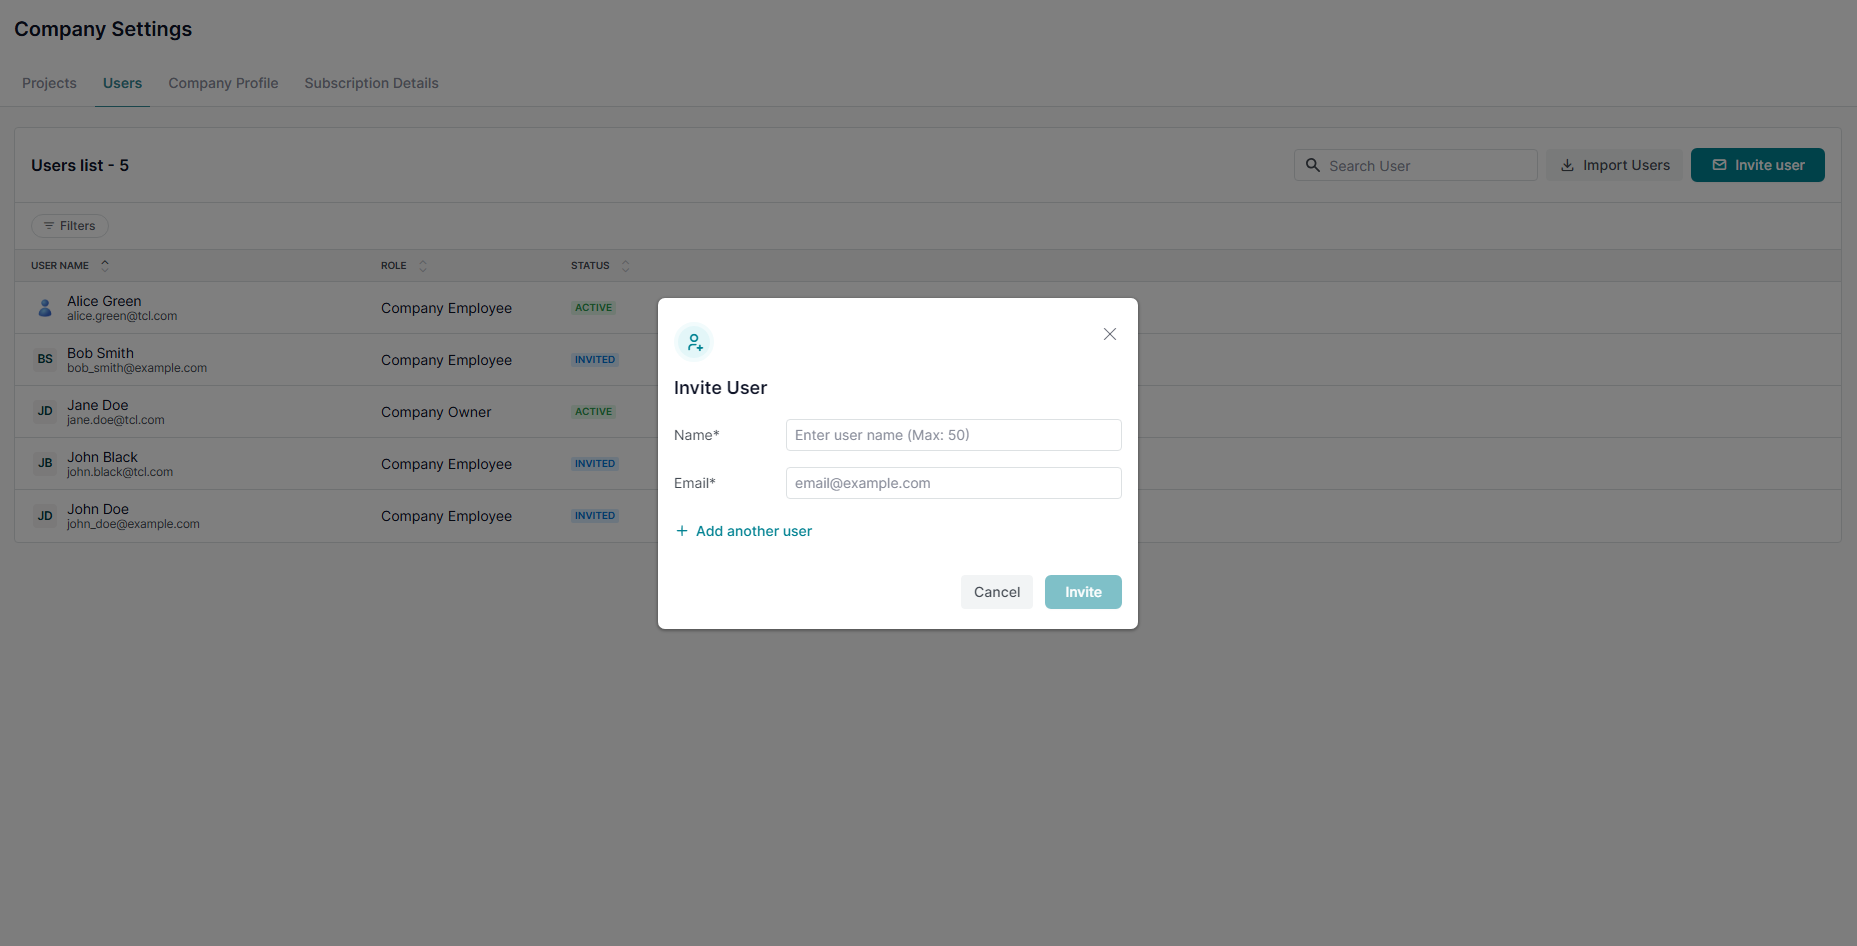
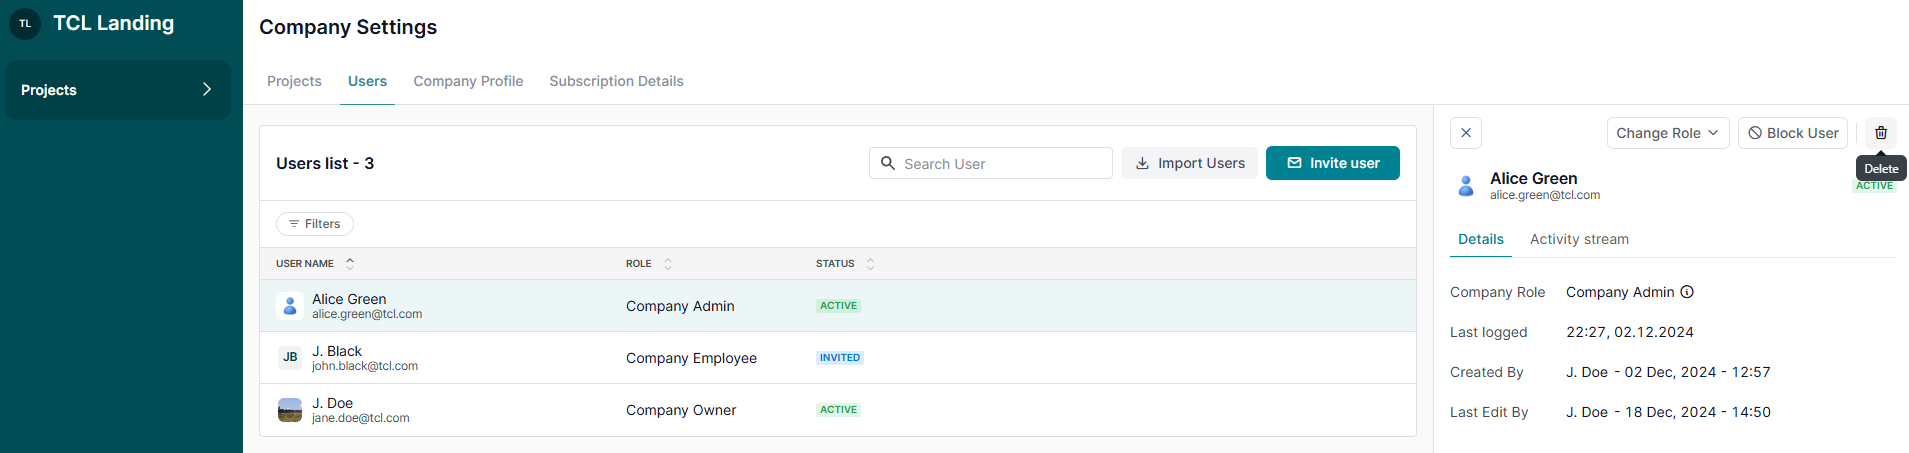
- Navigate to Company Settings > Users to invite users to the Company Account.
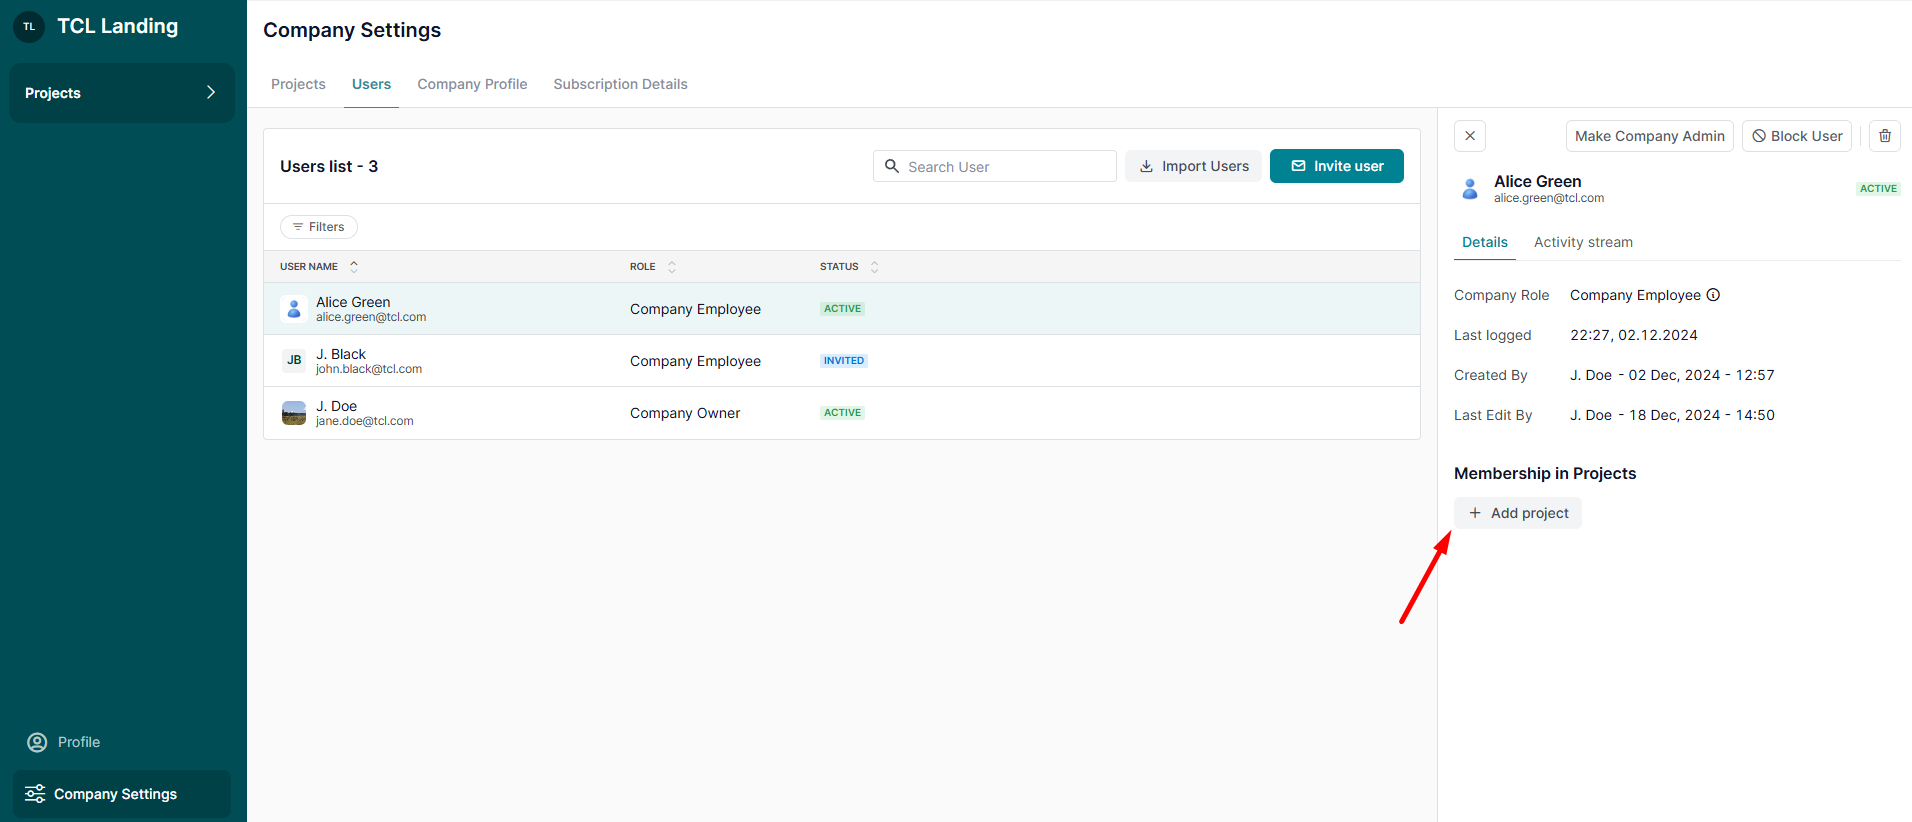
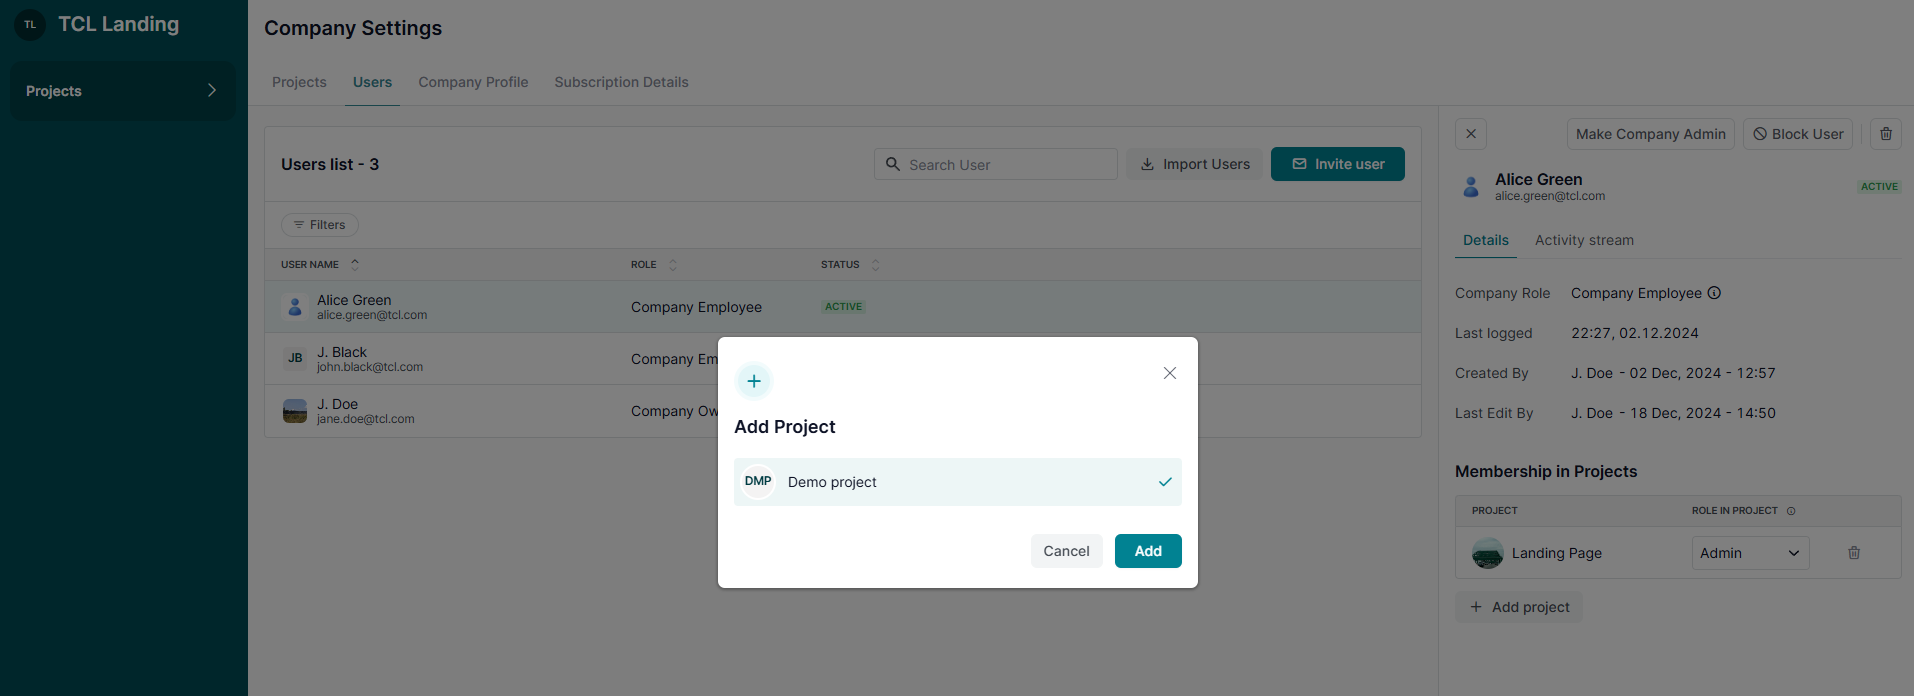
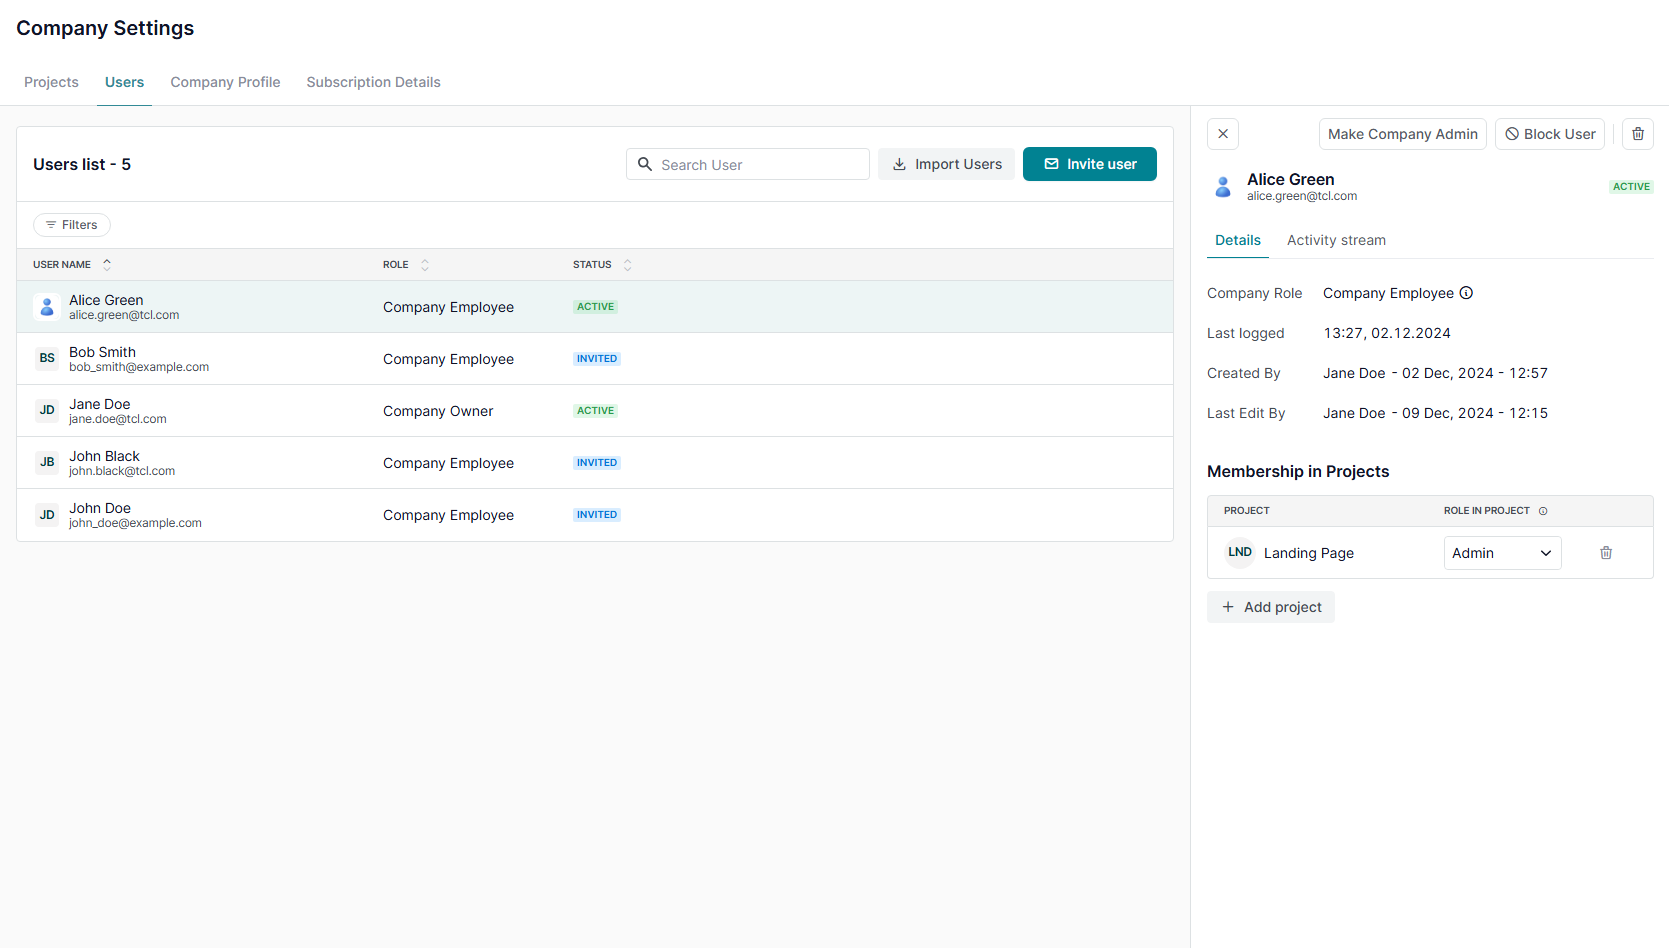
- Once users are added, you can assign them to specific projects in User Details via '+ Add Project' button.
2. Add Members from Project Settings
As a Project Administrator:
- Go to the specific project and navigate to Project Settings > Members.
- On the Members page click ‘Add Member.’
- Select one or more users from the list of Active members in your Company Account.
- Use search to quickly find the users you want to add.
- Selected users will appear in the field as chips.

3. Assign a Project Role
Choose the project role that should be applied to all selected users:
- Project Administrator:
- Full access to Project Settings and all project pages, including Test Cases, Requirements, Test Plan, Milestones, and Test Run.
- Project Member:
- Access to work on test cases and manage test plans and runs.
- Project Viewer:
- View-only access, suitable for stakeholders who need oversight without editing permissions.
Note: The selected role is applied to all users added in the same action. To assign different roles, add users separately or update their roles after they are added.

4. Add Selected Members
After selecting users and choosing a role:
- Click ‘Add Member’ to add the selected users to the project.
- The modal will close after submission.
- The Members list will refresh and show newly added users.
If some users cannot be added, valid users will still be added successfully. You will see a notification with the users who were not added.
5. Invite New Users
The ‘Invite new user’ link remains available and works separately from adding existing company users to a project.
Use it when the person you need is not yet part of your Company Account.
Note: Bulk adding project members works only for existing company users. Inviting new users is handled through the existing invite flow.
Manage a Project Member
Managing project members helps ensure everyone has the correct level of access to contribute effectively. Here’s how you can manage project members using Company and Project Settings.
1. Manage Project Members from Company Settings
As a Company Administrator:
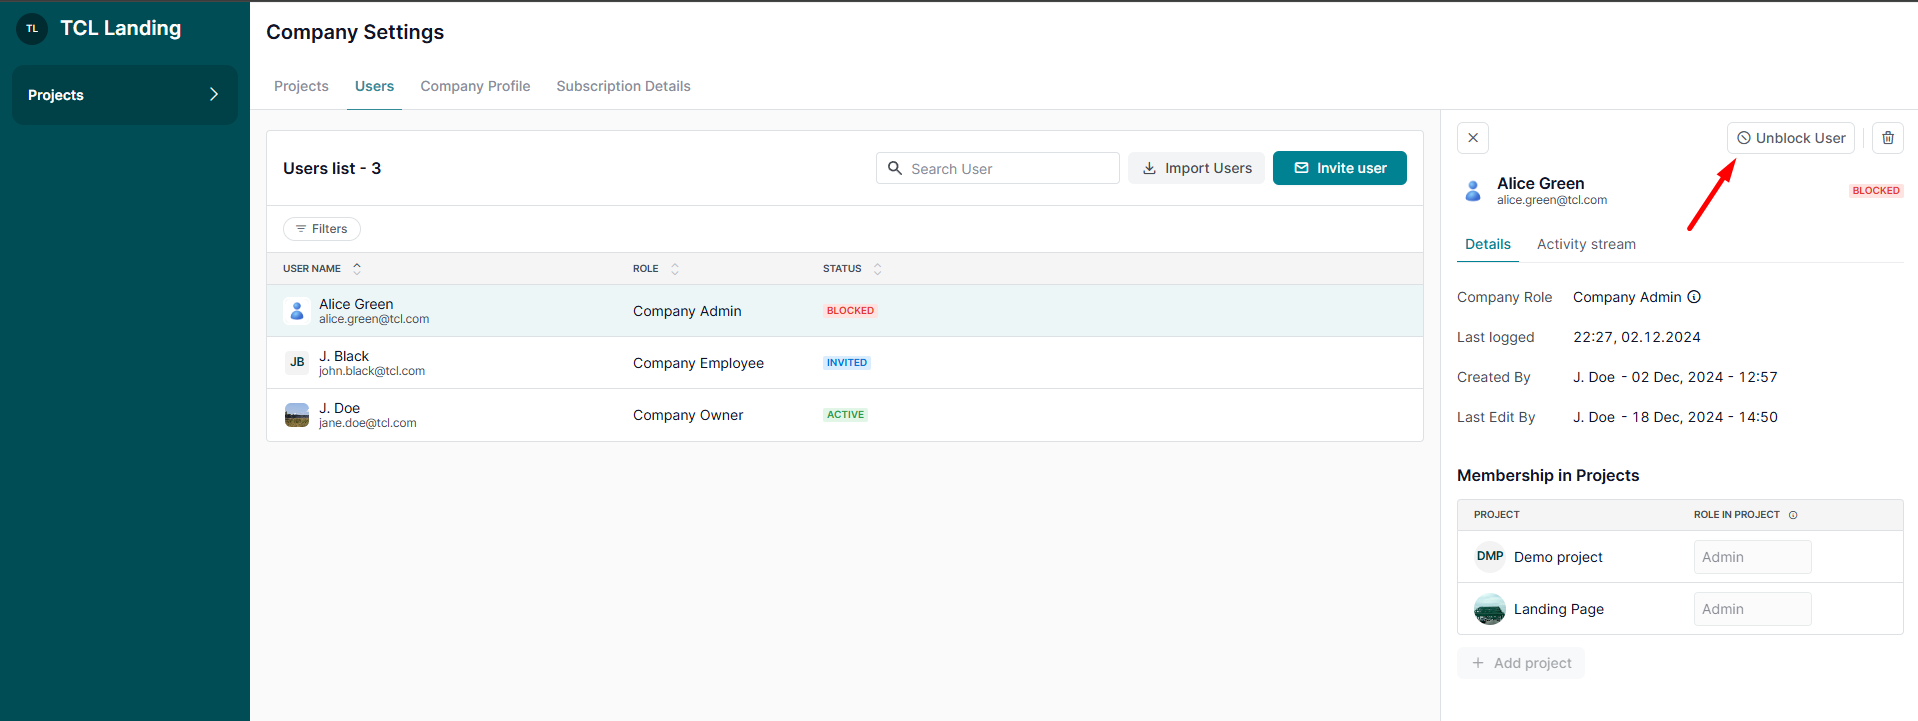
- Navigate to Company Settings > Users to manage all users within the Company Account, including their project assignments.
2. Manage Project Members from Project Settings
As a Project Administrator:
- Open the project and go to Project Settings > Members to directly manage members assigned to that specific project.
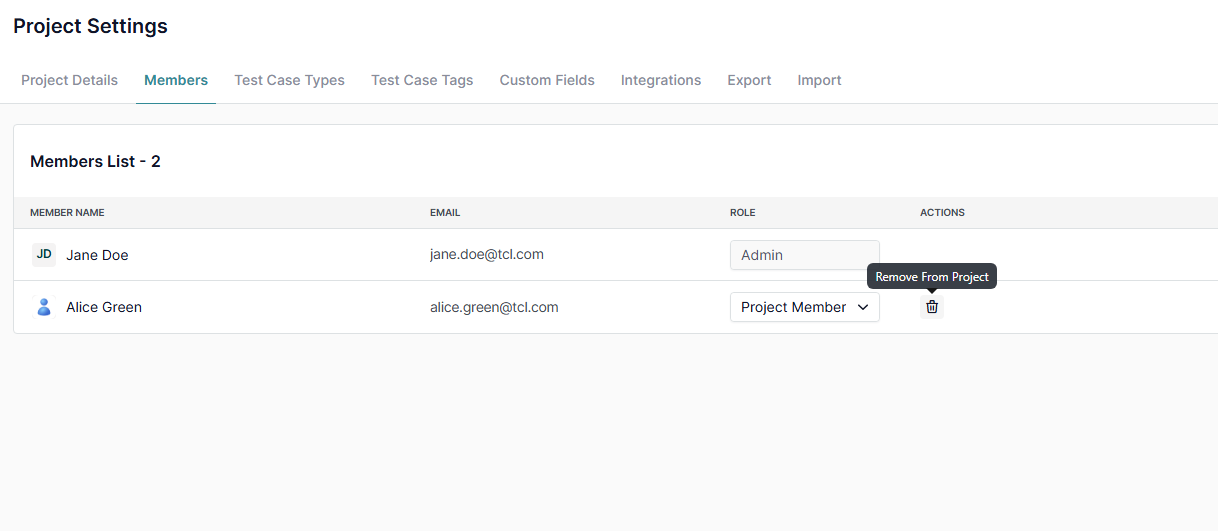
3. Remove a Project Member
On the Members page:
- Select the member you wish to remove.
- Confirm the removal to revoke their access to the project.
4. Change a Project Role
Update a member’s role by:
- Selecting a new role from the dropdown menu.
- Assigning roles based on their responsibilities (e.g., Administrator, Member, Viewer).
What’s Next?
Effectively managing project members ensures proper access control and smooth collaboration. For additional help, check related guides or reach out to our support team—we’re happy to assist!


.webp)
.webp)