Setting up integrations enables seamless communication between TestCaseLab and your bug-tracking tools. This simplifies defect reporting during test runs and enhances team collaboration. Follow this guide to set up and manage integrations.
1. Access the Integrations Page
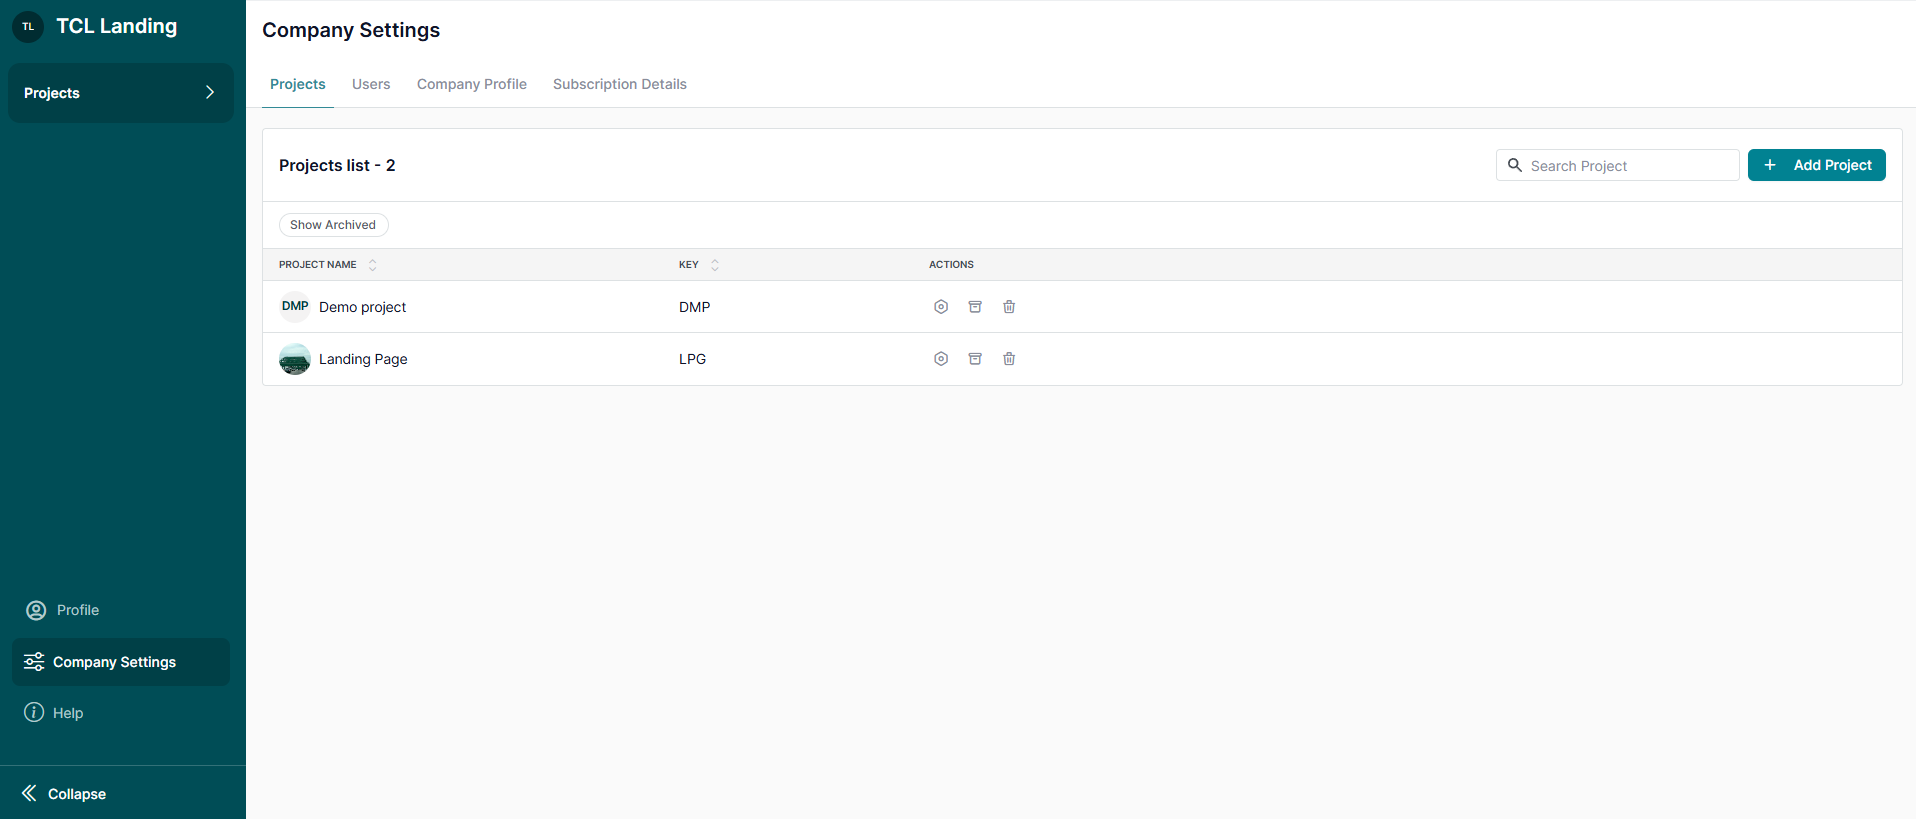
- Go to the specific project where you want to set up integration.
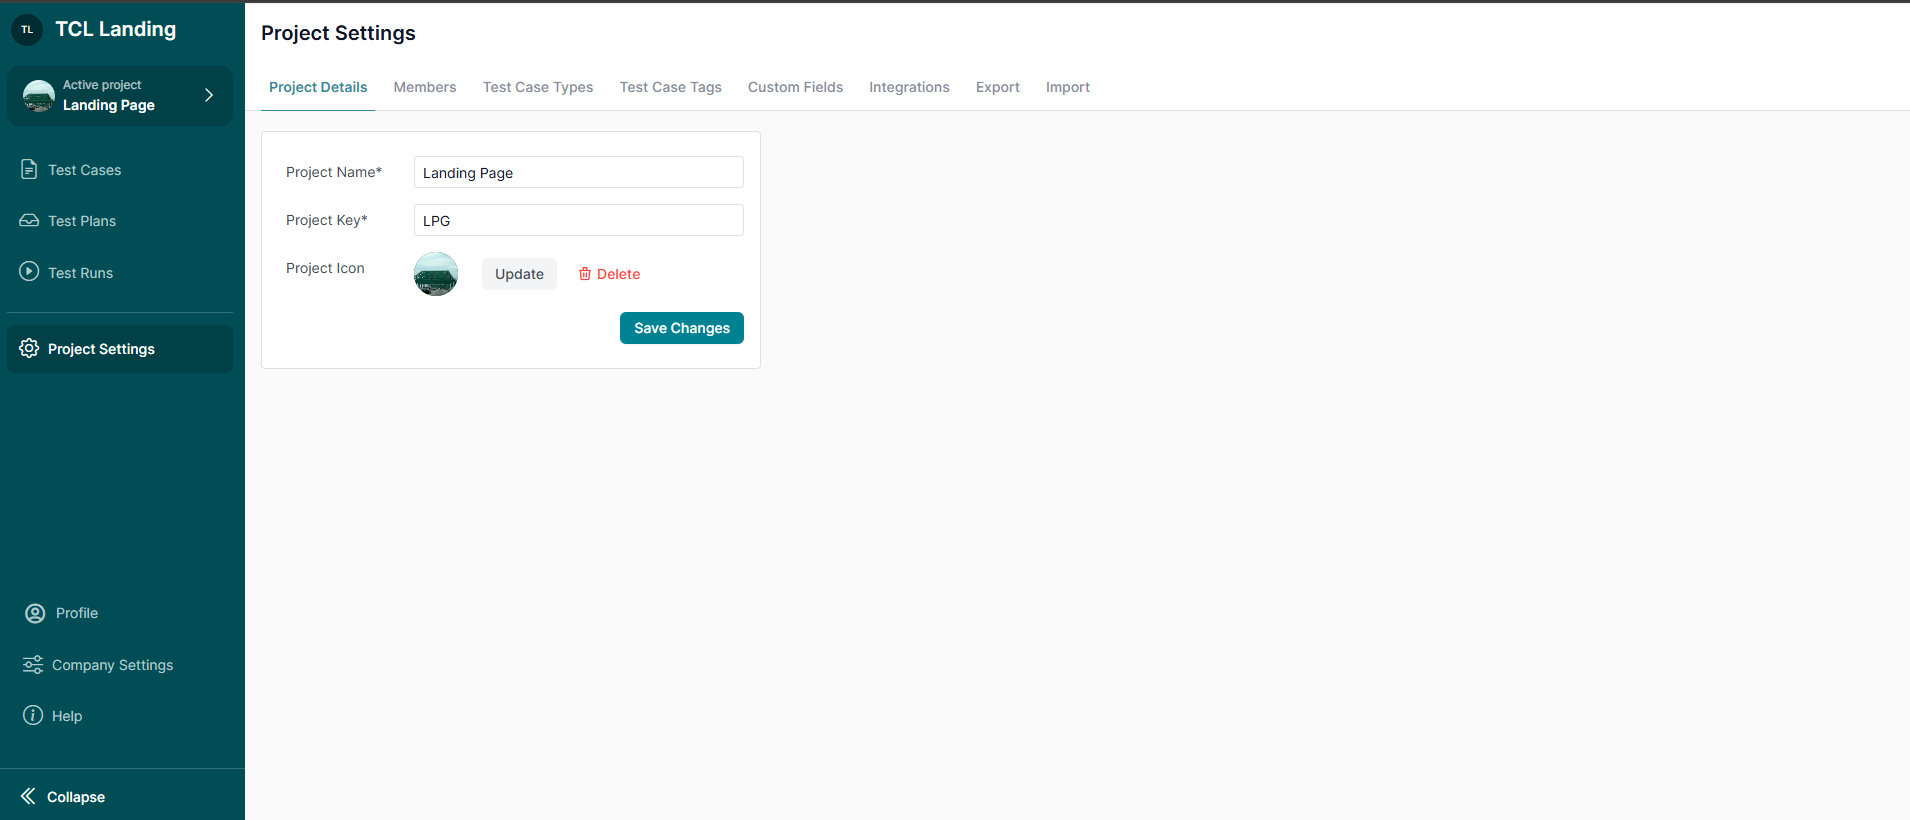
- Navigate to Project Settings > Integrations to view all available bug tracker options.
Note: Only Project Administrators can access Project Settings.
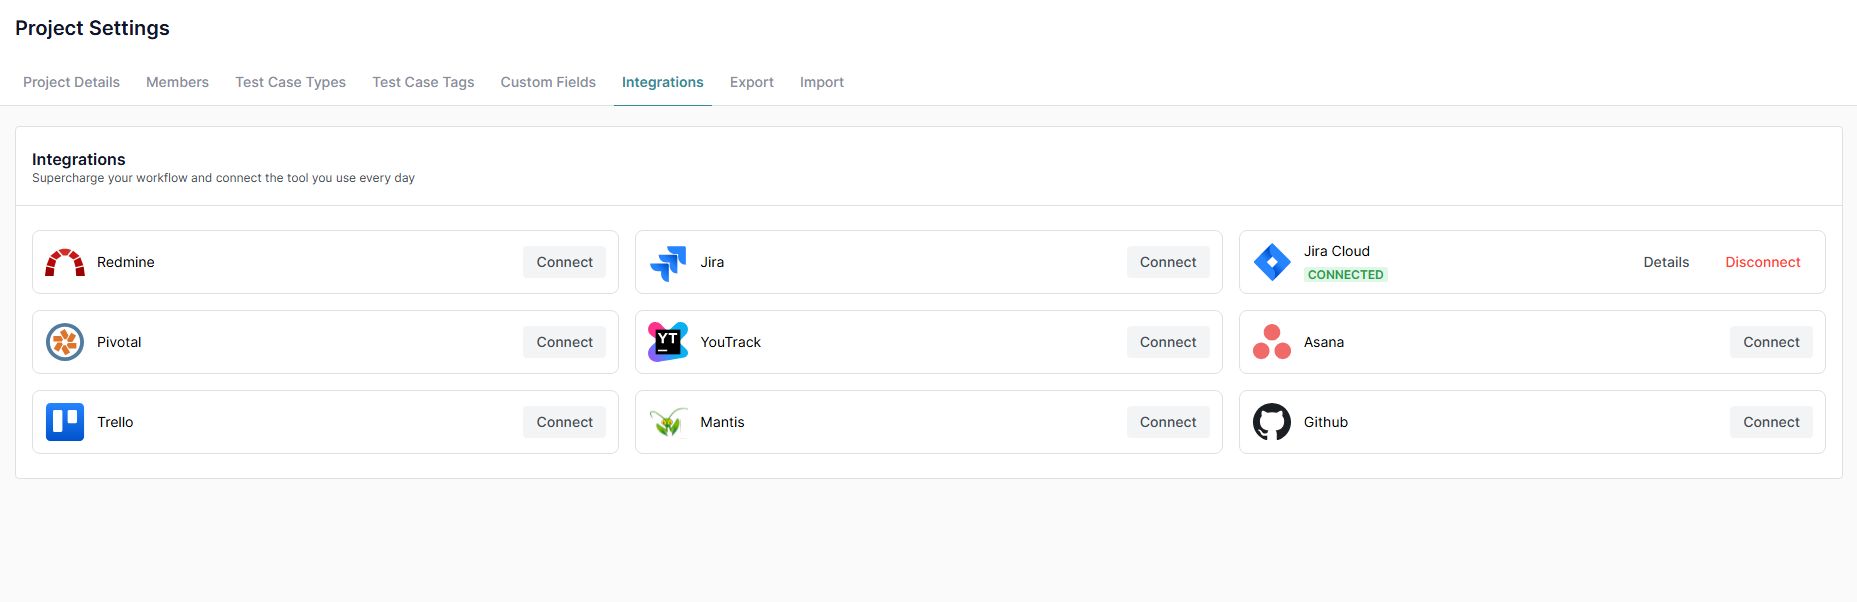
2. View Available Integrations
The Integrations page lists supported bug trackers, including:
- Jira Cloud
- Trello
- Redmine
- Jira (server-based)
- Pivotal
- YouTrack
- Asana
- Mantis
- GitHub
For integrations not yet connected, a ‘Connect’ button will appear on the corresponding integration card.
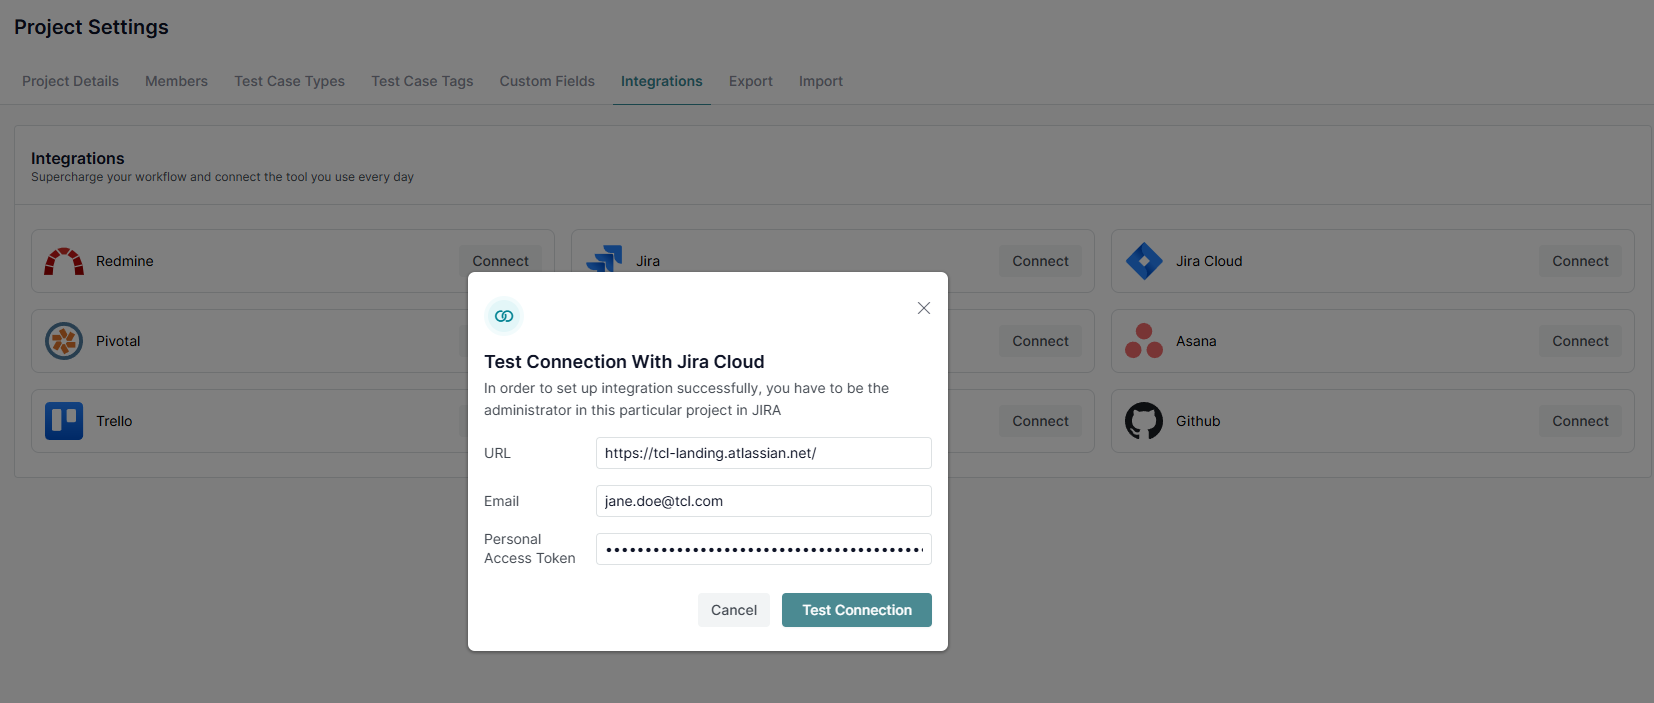
3. Connect a Bug Tracker
- Click the ‘Connect’ button for your desired bug tracker.
- Follow the prompts to authenticate and authorize the connection.
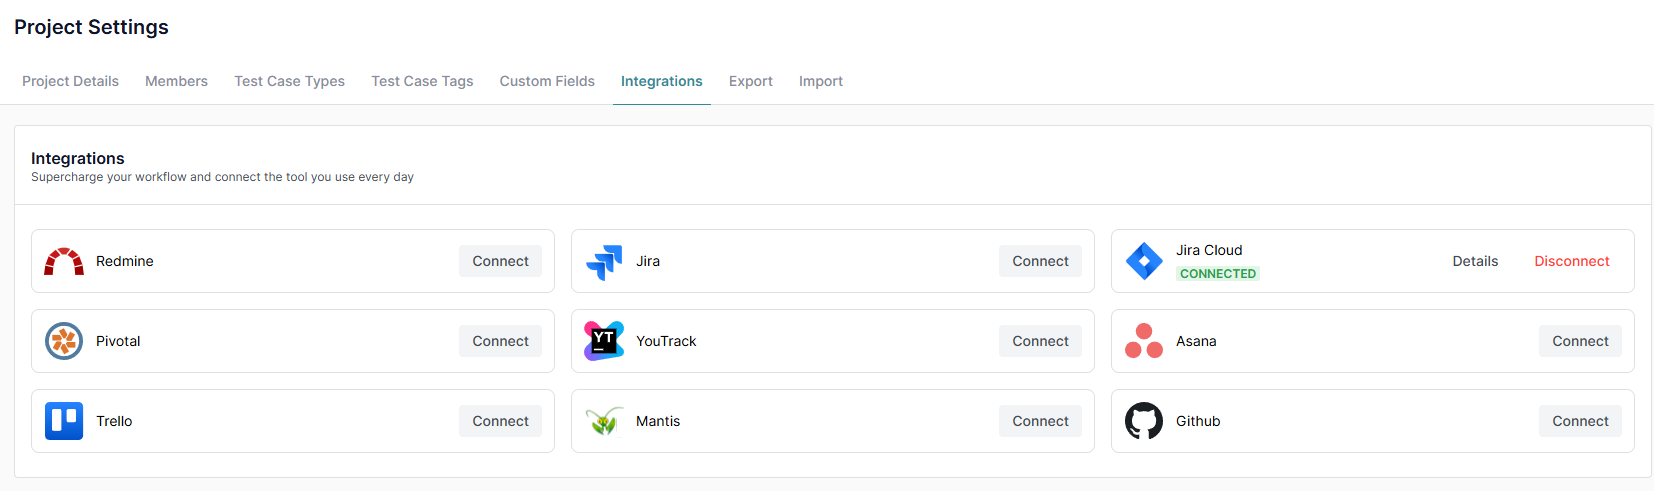
- Once connected, the integration card will display:
- ‘Connected’ label.
- ‘Details’ Button: Test the connection in a pop-up modal.
- ‘Disconnect’ Button: Remove the integration if needed.
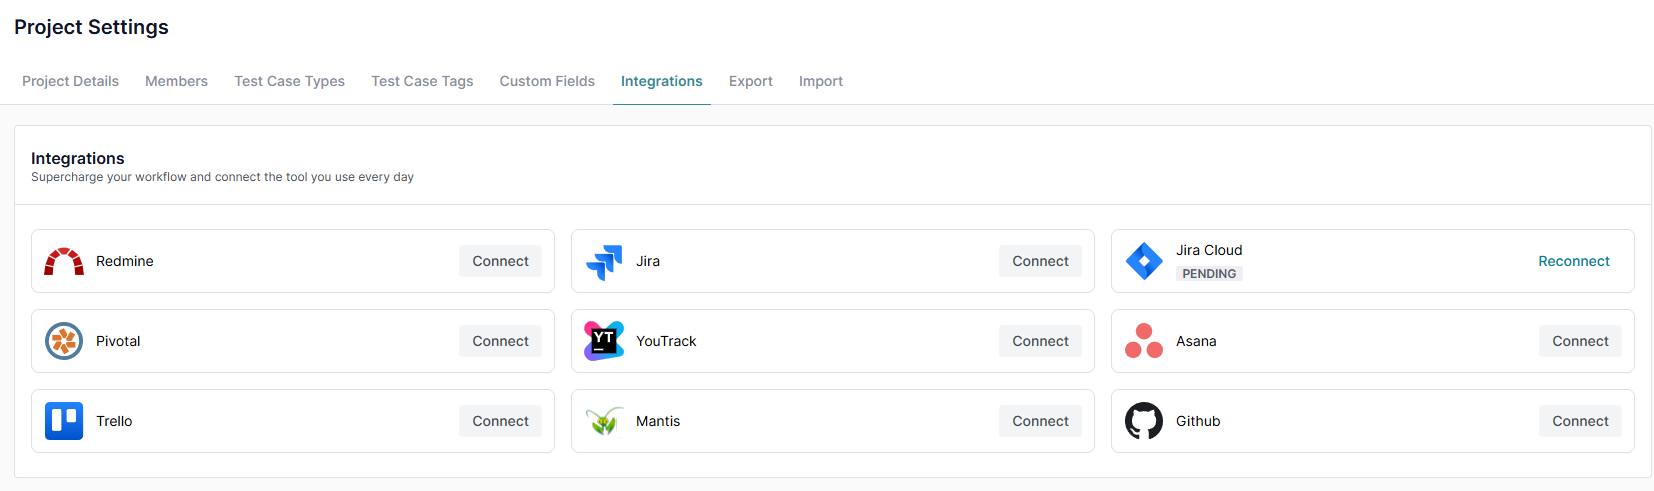
4. Manage Pending Integrations
- Only one active integration is allowed at a time.
- If you connect a new bug tracker while another is already active:
- The previous integration will switch to ‘Pending’ status.
- A ‘Reconnect’ button will appear, allowing you to reactivate the previous integration if needed.
What’s Next?
For further assistance, check our related guides or contact support—we’re here to help!


.png)


.webp)